In today’s rapidly advancing technological landscape, transforming your conventional home into a smart home no longer requires hefty investments or professional installations. Thanks to innovative solutions like Raspberry Pi, you now have the tools and flexibility to create an affordable and customizable home automation system. This guide aims to walk you through the fundamentals and practical steps of building your own smart home system from the ground up, using Raspberry Pi as your magic wand.
Understanding the Basics of Home Automation
Home automation involves the integration of devices and systems to control various home attributes such as lighting, climate, entertainment systems, and appliances. These systems can be controlled remotely through a smartphone or computer, offering enhanced convenience and energy efficiency.
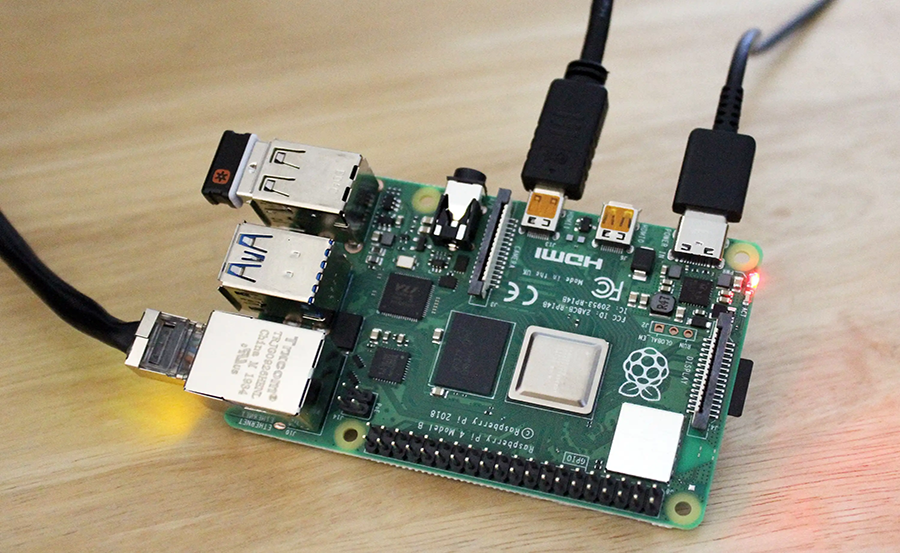
The Raspberry Pi, a credit-card-sized computer, has emerged as a popular platform for these DIY projects. Its affordability, along with its ability to interface with other electronics, makes it ideal for building customizable home automation systems tailored to specific needs.

Streaming Advice:
Enhance your entertainment with Buy IPTV online and enjoy premium global content from anywhere.
Why Choose Raspberry Pi for Home Automation?
Accessibility and Flexibility
Raspberry Pi is renowned for its versatility. It supports a wide range of operating systems and can run complex applications despite its compact size. For hobbyists and tech-savvy individuals, it offers an open platform to experiment with various components and frameworks.
Cost-Effectiveness
Creating a home automation system with traditional vendors can be costly. Raspberry Pi offers a budget-friendly alternative, allowing you to build a system that meets your needs without breaking the bank. It also integrates seamlessly with affordable IPTV services, providing superior viewing experiences among the best IPTV channels available.
Community Support
The Raspberry Pi community is a valuable resource for beginners and experts alike. With numerous forums, guides, and tutorials, finding answers and advice on your DIY journey is easy. Additionally, being part of this community means discovering superior IPTV viewing options and other innovations that could benefit your home automation system.
Essential Components for Your Home Automation System
Raspberry Pi Board
The core of your system is the Raspberry Pi board. Choose a model that aligns with your project needs. Newer models offer enhanced processing power and connectivity, which might be necessary for more demanding setups.
Peripherals and Accessories
- MicroSD Card: For OS installations and data storage.
- Power Supply: Make sure it’s compatible with your Raspberry Pi model.
- Network Connectivity: Whether via Ethernet or Wi-Fi, ensure stable internet access.
Sensors and Actuators
These components interact with your environment. Consider sensors for temperature, humidity, and motion, and actuators to control devices like lights and locks.
Setting Up Your Raspberry Pi
Initial Configuration
Begin by assembling your Raspberry Pi with the necessary peripherals. Download the latest version of Raspberry Pi OS and flash it onto your microSD card. Insert the card into your Raspberry Pi, connect peripherals, and power it up.
Software Installation
Once powered, complete the setup wizard, including connecting to Wi-Fi and setting up your user details. Install essential software packages needed for your specific home automation tasks.
Network Configuration
A strong and reliable internet connection is crucial. Configure network settings to ensure your Raspberry Pi is accessible remotely. Consider setting up a static IP address to streamline access.
Designing Your Home Automation System
Identifying Your Needs
Before diving into coding and connections, outline what you want your home automation system to achieve. Is it primarily about security, energy efficiency, or convenience? Having a clear plan will guide your hardware and software integrations.
Integrating with Smart Devices
Utilize protocols like Zigbee and Z-Wave to connect with smart devices. These protocols offer reliable connections and are broadly supported in commercial smart home products, making them seamless partners in your Raspberry Pi project.
Programming Your Automation System
Coding Basics
Python is the preferred language for Raspberry Pi projects due to its simplicity and power. Start with basic scripts to familiarize yourself with controlling GPIO pins and reading sensor data.
Enhancing Functionality
As your confidence grows, incorporate more advanced programming concepts such as creating automated routines, providing remote control capabilities, and triggering responses based on sensor data.
Refining and Expanding Your System
Testing and Troubleshooting
No system is perfect from the start. Test extensively under different conditions to ensure reliability. Address any connectivity issues or incorrect sensor readings to ensure your system functions seamlessly.
Adding New Features
Once the basics are running smoothly, consider expanding your system’s capabilities. Introduce features like voice control, advanced scheduling, and integration with third-party services to enhance functionality.
Creative Ways to Use Your Home Automation System
Energy Management
Track energy usage and automate heating and lighting to optimize consumption patterns. Not only will you save on energy bills, but you’ll also contribute to a sustainable environment.
Security Enhancements
Integrate cameras and smart locks to bolster home security. Get instant alerts on your smartphone if any unusual activity is detected, giving you peace of mind whether at home or away.
Enhancing Entertainment
Automate your home theater system to enhance leisure moments. Control lighting, sound, and streaming services through one centralized command system, providing an immersive experience.
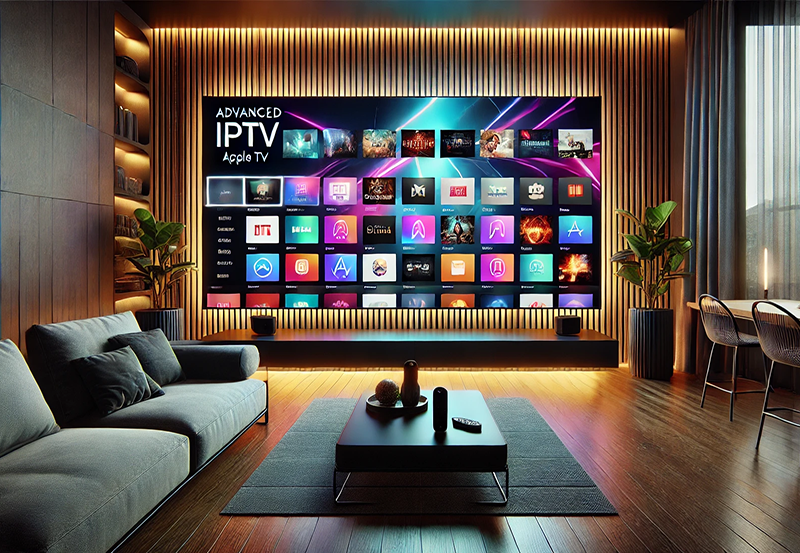
Exploring Affordable IPTV Integration
Benefits of IPTV
IPTV brings the television experience into the modern world through internet streaming. This can be seamlessly incorporated into your home automation system for superior IPTV viewing experiences.
Setting Up IPTV with Raspberry Pi
There are affordable IPTV solutions that perfectly integrate with Raspberry Pi. Utilize software like Kodi to manage and stream a variety of content, ensuring access to some of the best IPTV channels.
Your home’s journey into the future doesn’t end with the initial setup. It continues to grow, improve, and adapt, offering unending opportunities for innovation. So go ahead, tinker with your Raspberry Pi, explore new smart devices, and embrace the endless possibilities your smart home can offer. Dive into projects that align with your lifestyle, enhancing your home’s efficiency and sophistication with each pivotal tweak and upgrade.
FAQ: All About DIY Home Automation with Raspberry Pi

What is a Raspberry Pi used for in a smart home?
Raspberry Pi serves as the main controller, executing commands, and interfacing various smart devices such as sensors, actuators, and entertainment systems.
Is a Raspberry Pi-based system secure?
Security largely depends on your configurations. Implement network safety measures like secure passwords and regular software updates to protect your automation system.
Can a Raspberry Pi automate any device in my home?
With the right peripherals and integrations, a Raspberry Pi can control most smart devices. However, ensure compatibility with the devices you’re aiming to automate.
Is investing in a home automation system worthwhile?
Absolutely. It improves convenience, security, and energy efficiency, often leading to long-term savings. Plus, the satisfaction of building and customizing your system offers rewards beyond the tangible.
What is affordable IPTV, and how does it relate to Raspberry Pi?
Affordable IPTV refers to Internet Protocol Television services that don’t break the bank. They offer extensive channel selections and integrate well with Raspberry Pi setups to enhance home entertainment.
Maximize Your Viewing: ProgTV Content and Channel Options